acf domain was triggered too early. This is usually an indicator for some code in the plugin or theme running too early. Translations should be loaded at the init action or later. Please see Debugging in WordPress for more information. (This message was added in version 6.7.0.) in /www/wwwroot/leadcont.com/blog/wp-includes/functions.php on line 617017950 NW 53rd Street Suite 337
Miami, Florida 33166


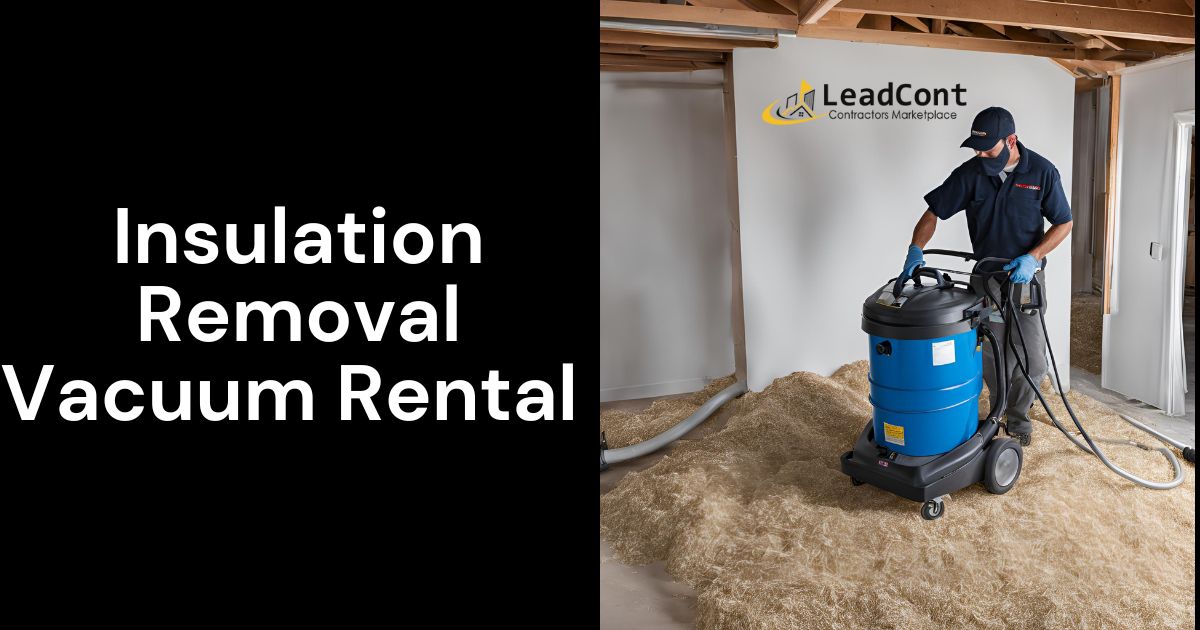
When I first decided to remove the old insulation from my attic, I thought it was going to be a two-day job. But it was not! Little did I know how one simple thing- insulation removal vacuum rental would ease the process and make this tedious activity much simpler. If you are contemplating getting your insulation removed, allow me to describe how I went about the process, what I did wrong along the way, and how to make the task a lot easier for yourself.
Let me begin first by stating exactly what the insulation removal vacuum is. This is heavy-duty equipment designed to remove insulation material whether it be loose fill or batt insulation and all the insulation is sucked into an industrial-strength disposal bag.
In a way, it’s a vacuum cleaner but a bigger and more powerful one, to be exact. Its purpose is to remove old insulation and that should be cumbersome and a very messy job. Steel, cellulose, fiberglass, or whichever material you are dealing with, this tool will make the job quick, easier,r and safe.
These vacuums are equipped with long hoses that allow the user to access hard-to-reach areas in the attic or crawl space with ease. Additionally, they also come with several special filters to contain the dust and debris so that the house remains clean during the process.

When I had a look at my energy bills, I was shocked. They were so high that it was making my head spin. This was the time to wave goodbye to my insulation. The original attic insulation had been on there for more than thirty years so there was a good chance that it needed replacement. Moreover, I had been told so many times before that older insulation can contain all sorts of dust particles, allergens, and even insects, I hated the thought!
But more importantly, I needed to remove the insulation because I had plans of converting the attic into a more energy-efficient area. I could do away with fossil fuels by simply replacing my old insulation with new, off-the-shelf products and cooling or heating my home during the winter and summer months as required.
In the beginning, I simply saw a few companies who could do it for me but the quotes for the work were just too high. That was when I decided to do it myself. A few clicks online showed me that insulation removal vacuums are widely used and I could rent one. This would enable me to save a great deal of time and money.
First, let me mention that before I went through the rental process, I was required to determine what kind of insulation I had in the attic. This step is super important because not all vacuums can handle every type of insulation.
Batt Insulation
Mine was found with big rolls of fiberglass batt insulation. Batt insulation is generally large sheets stuffed between rafters or floor joists and is standard in thickness and heaviness. Its removal is more time-consuming because cutting and pulling the insulation out would require vacuums. Like batt insulation, batt tends to displace fibers and the users must wear protective gear while using batt.
Loose Fill Insulation
With that said, I did also have one or two spots of loose-fill fiberglass. This kind is much easier to get rid of with a vacuum because it can be sucked out without very much preparation. Loose-fill insulation refers to any form of insulation usually in blankets made of fiberglass, cellulose, or mineral wool spread loosely over building components and structures. It’s ideal for filling irregular locations but may become unmanageable if not used properly.
It was particularly useful in informing the vacuum choice as well as informing how the materials would be removed because I had an idea of what type of insulation it was.
When I went out to look for a vacuum cleaner, the first thing I was worried about was the mounting costs associated with buying this appliance. These machines can cost thousands of dollars! Such a one-off project does not justify investing that kind of amount.
Renting, on the other hand, was strenuously cheap. Most of such equipment rental shops would charge on a day or a week basis and hence, I would have got the vacuum, used it,t and returned it without the need to worry about maintenance or storage.
The rental process was also seamless. I told the rental staff about my project, and they assisted me in selecting the necessary vacuum and its accessories. They helped me to arrange the vacuum and demonstrated how to use it. It wouldn’t hurt to look for one of those used insulation vacuums for sale for contractors or people with recurring insulation works, but for me, too big a hassle I found renting.
Using an insulation removal vacuum is quite simple and pretty basic; however, most machines are not without problems, and this was true for the equipment I was using. Here’s how I tackled it:
I began by putting on protective equipment, such as gloves, goggles, and a mask. Over time, all the old insulation materials tend to crumble or produce point-like fibers which can be irritating. That is why I started by covering all surfaces with plastic sheeting and applying tape to the vents.
The next thing I did was attach a long hose to the vacuum and a huge collection bag on its end. Thank God the rental store staff instructed me how to work the machine, otherwise I might have had a really difficult time. The entire setup took about 20 minutes with no hassles at all. And I went through all the fittings again to check for leaks.
Pouring the insulation material into the vacuum required that it be cut and rolled into a cylinder before insertion. Though laborious, this stage was fairly easy to perform. I first took a utility knife and made slits on the insulation to enable it to be placed inside the hose.
This was the simplest task as well. The vacuum hose was simply directed to the insulation and everything was sucked in. The vacuum’s power was awesome! Would have been a tedious job.
Despite these difficulties, the vacuum rental did make the task much simpler than it would have been in the absence of it.
In retrospect, I do not regret renting. Rent was cheap and I didn’t have to worry about where to keep, or how to maintain a big device. But if you are a contractor or think you are going to do this often. There are used insulation vacuums for sale that could be well worth your investment.

I should emphasize at this moment the importance of safety. When you are removing insulation, you can come into contact with dangerous dust particles, and therefore, safety equipment is a must. Here is what I had on:
In addition, do not proceed if your insulation may contain asbestos or mold until you confirm this with a professional.
Of course! Making use of the vacuum for insulation removal was a great help for this job which was daunting and time-consuming. I was able to do it at a fraction of the cost compared to hiring numerous professionals.
In case you decide to attempt something similar. My advice is you should seek to ensure that you rent an insulation removal vacuum. I guarantee you that all the efforts that you will be required to put in will be worth it in the end. Your energy expenses and humidity issues will be gone!
Ever find yourself staring at your computer screen a good consulting slogan to come to mind? Oftentimes.