acf domain was triggered too early. This is usually an indicator for some code in the plugin or theme running too early. Translations should be loaded at the init action or later. Please see Debugging in WordPress for more information. (This message was added in version 6.7.0.) in /www/wwwroot/leadcont.com/blog/wp-includes/functions.php on line 613117950 NW 53rd Street Suite 337
Miami, Florida 33166


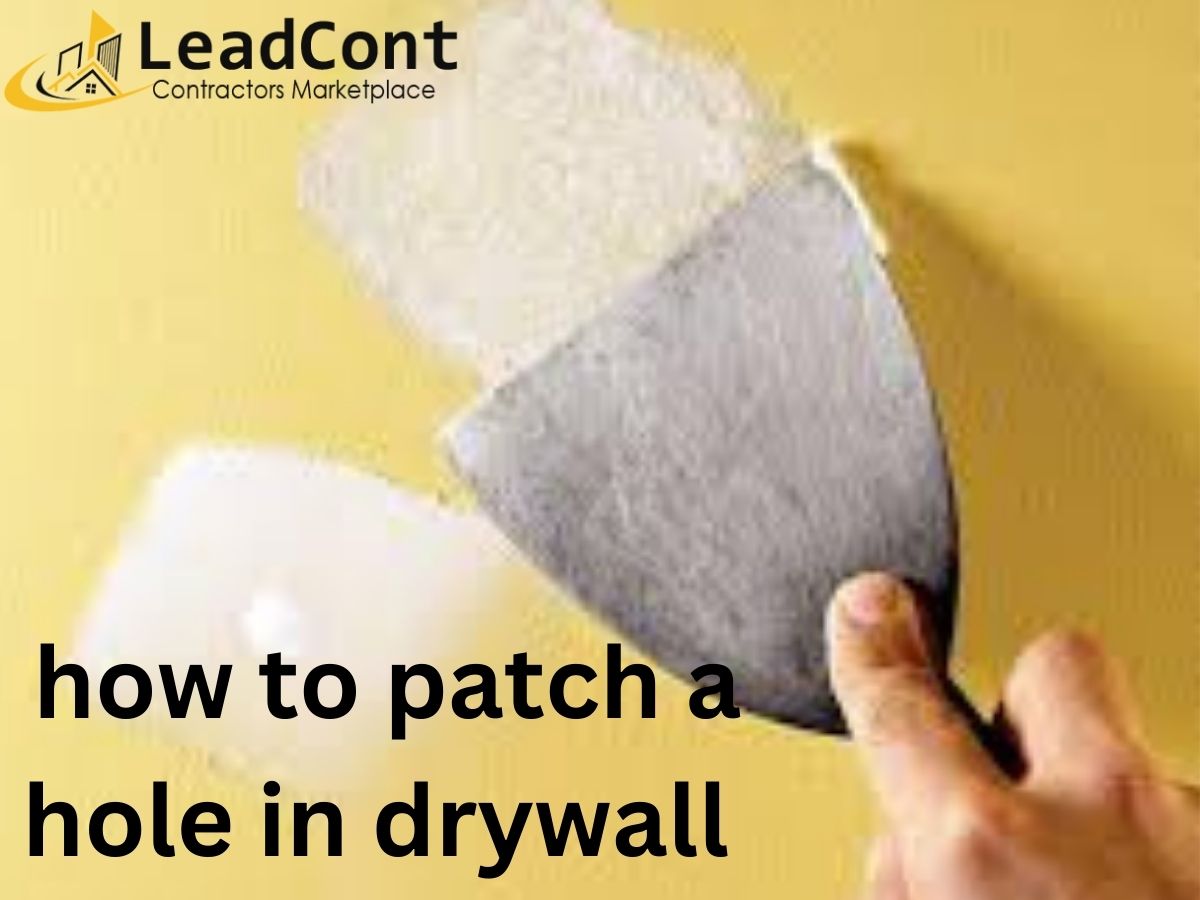
Patching drywall can seem straightforward, but even minor oversights can lead to frustrating results. One of the most significant errors is neglecting surface preparation. Proper preparation is crucial for achieving a strong, long-lasting repair that blends seamlessly with your walls. This guide will delve deep into why surface preparation is essential, how to do it correctly, and the implications of skipping this critical step.
Before embarking on any patching project, it’s essential to prioritize cleaning the area surrounding the hole. Dust, debris, old paint, and residual materials can significantly impede the patching process, particularly when it comes to the adhesion of joint compounds and patch materials. Here’s a closer look at why cleaning the area is crucial:
One of the primary reasons for cleaning the area is to ensure optimal adhesion. A clean surface allows for better bonding between the patching material and the existing surface. If dirt or debris remains, it can create a barrier that prevents the bonding agent from sticking effectively. Poor adhesion can lead to future issues such as peeling, cracking, or the patch failing to stay in place. By investing time in cleaning, you set a solid foundation for a successful repair, ensuring that the patch adheres securely and lasts longer.
Old paint, dust, and other residues can contain oils and contaminants that may compromise the integrity of your repair. These substances can interact negatively with the joint compound, leading to problems such as discoloration, uneven textures, or bubbling. Contaminants can also create an environment conducive to mold or mildew growth, particularly in areas with moisture. By thoroughly cleaning the area before patching, you reduce the risk of these issues, ensuring that your repair maintains its appearance and functionality over time.
The aesthetic quality of a patch job is paramount, especially in visible areas. A clean surface is essential for achieving a smooth and professional-looking finish. Any remnants of dust or old material can become visible through the joint compound, resulting in an unsightly appearance that detracts from the overall look of the wall or surface. By taking the time to clean properly, you increase the likelihood of achieving a seamless finish that blends well with the surrounding area. This attention to detail can make a significant difference in the overall impression of your work.
Taking the time to clean the area thoroughly at the outset can save you considerable time and effort later on. If you neglect this step, you may find yourself having to redo the repair due to adhesion problems or an uneven finish. This not only prolongs the project but also increases material costs and labor. By ensuring that the area is clean before starting the patching work, you enhance overall efficiency and minimize the risk of setbacks. A thorough initial cleaning can prevent the frustration and extra work associated with having to revisit the repair later.
Properly preparing a hole before patching is essential to achieving a durable and aesthetically pleasing repair. Each step in this process contributes to the overall success of the patch, ensuring that it adheres well and blends seamlessly with the surrounding area. Here’s a detailed guide on how to prep the hole effectively.
The first step in preparing a hole is to eliminate any loose or damaged material around the edges. This is crucial for creating a stable surface for the patch. Use a utility knife or drywall saw to carefully cut away any loose edges surrounding the hole.
Once you’ve removed any loose material, the next step is to sand the edges of the hole lightly. This step is essential for a number of important reasons:
Creating a Smoother Transition: Sanding helps to blend the patch into the surrounding drywall. A smooth transition is essential for a seamless finish; it makes the patch less noticeable once you paint over it. A rough or uneven surface can create shadows or lines that draw attention to the repair.
After sanding, it’s essential to clean the area thoroughly. Use a damp cloth to wipe down the hole and its surrounding surface, ensuring that you remove any dust and debris created during the sanding process.
Choosing the correct patch size is essential for successful drywall repair. When the patch is too small or too large, it can lead to uneven surfaces and additional work to correct the errors and select the appropriate patch size based on the size of the hole that can make all the difference in achieving a flawless repair.
Small Holes (Nail and Screw Holes):
For tiny holes, such as those created by nails or screws, you can typically fill them directly with joint compound. This method is quick and effective, requiring minimal preparation. However, for slightly larger holes—up to about half an inch—consider using a pre-made patch or cutting a small piece of drywall to fit snugly into the hole. This ensures a smoother surface and better adhesion.
Medium Holes (1-3 inches):
For medium-sized holes, usually ranging from one to three inches in diameter, a patching compound or a mesh patch is generally sufficient. When applying the patch, ensure that it overlaps the edges of the hole by at least half an inch. This overlap is crucial for creating a strong bond and helps prevent future cracking or peeling.
Large Holes (Over 3 inches):
For larger holes, greater care is needed. Cut a piece of drywall that extends at least two inches beyond the edges of the hole. This size not only allows for a secure attachment but also provides enough surface area for the joint compound to adhere effectively. When installing, use screws to secure the patch firmly in place, ensuring it aligns with the surrounding wall.
Visible Repairs:
One of the most immediate consequences of using the wrong patch size is the visibility of the repair. A patch that is too small will create an uneven surface, which can be very noticeable once painted. On the other hand, a patch that is too large may require excessive sanding to achieve a level surface, leading to further complications. This not only increases your workload but also risks damaging the surrounding drywall.
Structural Issues:
Another significant consequence is the potential for structural issues. An inadequate patch won’t provide the necessary support, especially for larger holes. This lack of support can lead to sagging or cracking over time, which defeats the purpose of the repair. If the patch doesn’t fit well, it may also lead to moisture infiltration, increasing the risk of mold growth.
Selecting the correct patch size is essential for ensuring a seamless repair that doesn’t draw attention. A well-sized patch will blend into the wall, making the repair virtually invisible.
Applying joint compound correctly is crucial for achieving a smooth, even finish. Many DIYers make the mistake of skimping on this important step, which can lead to unsatisfactory results.
Use the Right Tool:
A putty knife or a taping knife is ideal for applying joint compound. Selecting a knife that matches the size of the area you’re covering will provide optimal control. Using the right tool allows for more precise application, which is particularly important when working with larger patches.
Apply in Thin Layers:
Start with a thin layer of joint compound over the patch. It’s best to apply the compound in thin layers rather than trying to cover the patch all at once. Allow each layer to dry completely before applying additional layers. This method helps avoid cracking and promotes a smoother finish. Rushing this step can result in an uneven surface that is difficult to fix later on.
Feather the Edges:
When applying the compound, feather the edges outward to blend it into the surrounding wall. This technique minimizes the visibility of seams once painted. Feathering ensures that there are no harsh lines where the patch meets the existing wall, contributing to a more professional-looking repair.
Small Repairs:
For minor repairs, one or two thin layers of joint compound should suffice. These layers should be enough to create a smooth surface without adding unnecessary bulk.
Larger Patches:
For larger areas, you may need to apply several layers, ensuring that each one dries completely before adding the next. This patience is key to achieving a durable and appealing finish.
Using the right amount of joint compound not only improves the appearance of the repair but also ensures its durability and longevity. Adequate joint compound application can mean the difference between a successful repair and one that requires constant attention.
Avoiding the mistakes of using the wrong patch size and insufficient joint compound is crucial for achieving a successful drywall repair. By selecting the appropriate patch and applying joint compound properly, you can ensure a seamless finish that enhances the overall look and integrity of your walls. Remember, investing time in these details can save you significant effort and frustration in the long run.
For expert assistance with your repairs, contact LeadCount today and register for a free quote to achieve the perfect finish for your drywall projects!
Ever find yourself staring at your computer screen a good consulting slogan to come to mind? Oftentimes.